Guides
Plan a distribution area and assign it as a job
Draw the neighbourhood once, save it, and assign it. The carrier gets it on their phone with a push notification.
Areas and jobs are two different things
An area is a saved shape on the map: "Schwachhausen Nord", drawn once, reusable forever. A job is the actual assignment: this area, this carrier, this campaign, this client.
Keeping them separate pays off as soon as you walk the same neighbourhoods more than once a year. You draw once and assign from then on.
Setting up a neighbourhood
-
1
Draw the shape and name it
Under Areas you drag a rectangle or click a polygon along the streets that belong together. Give it the name your team already uses — real neighbourhood names work far better than "Area 3".
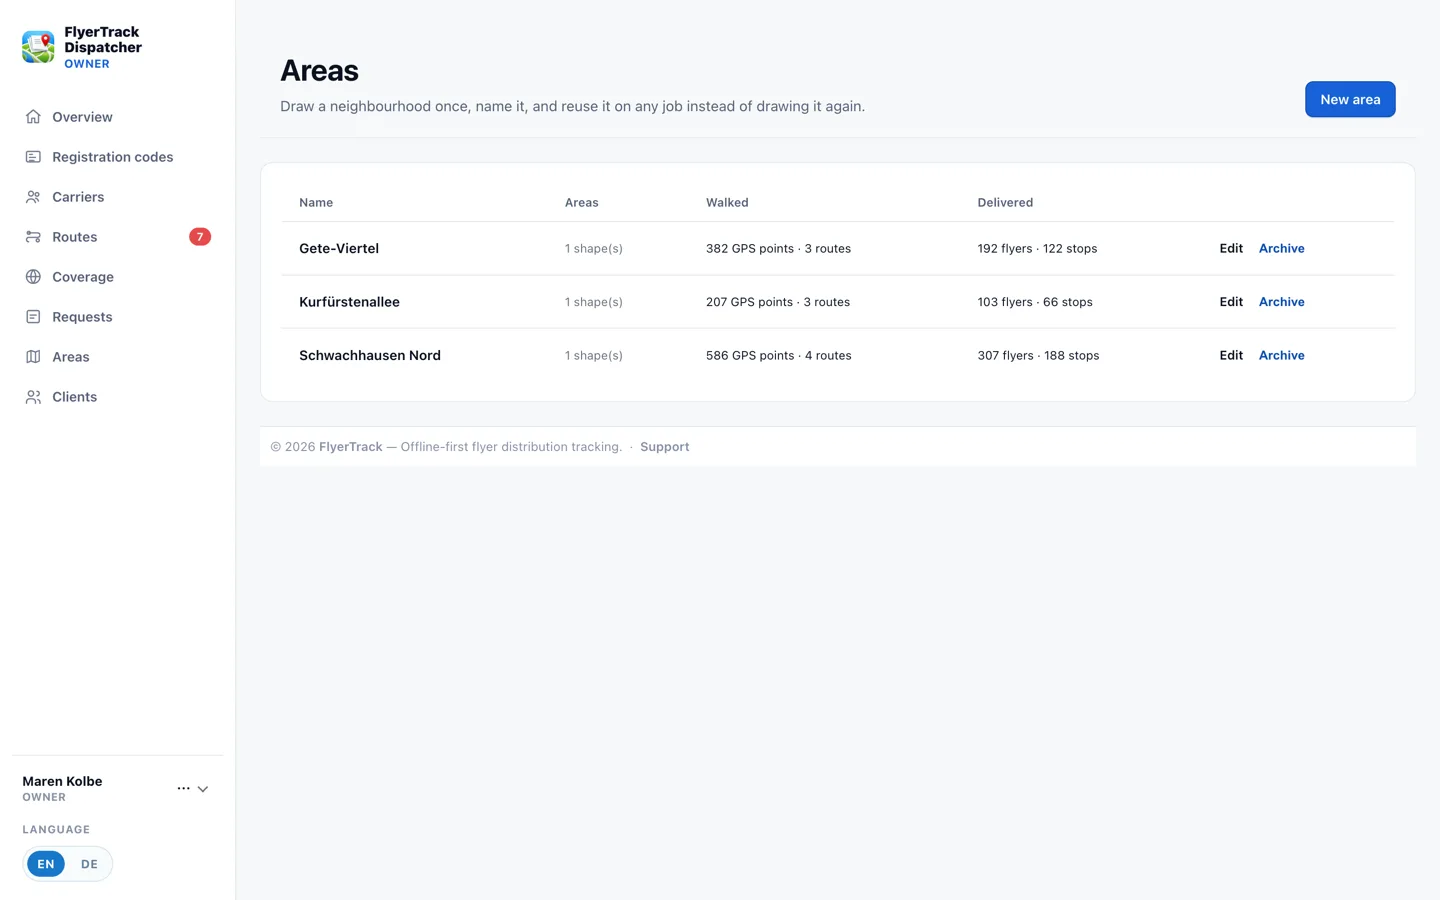
Saved areas can be reused across as many jobs as you like. -
2
Create the job and assign it
Under Jobs you pick the saved area, the carrier and the client, add a campaign and any notes — "apartment buildings only, no commercial units" — and save. The carrier gets a push notification on their phone.
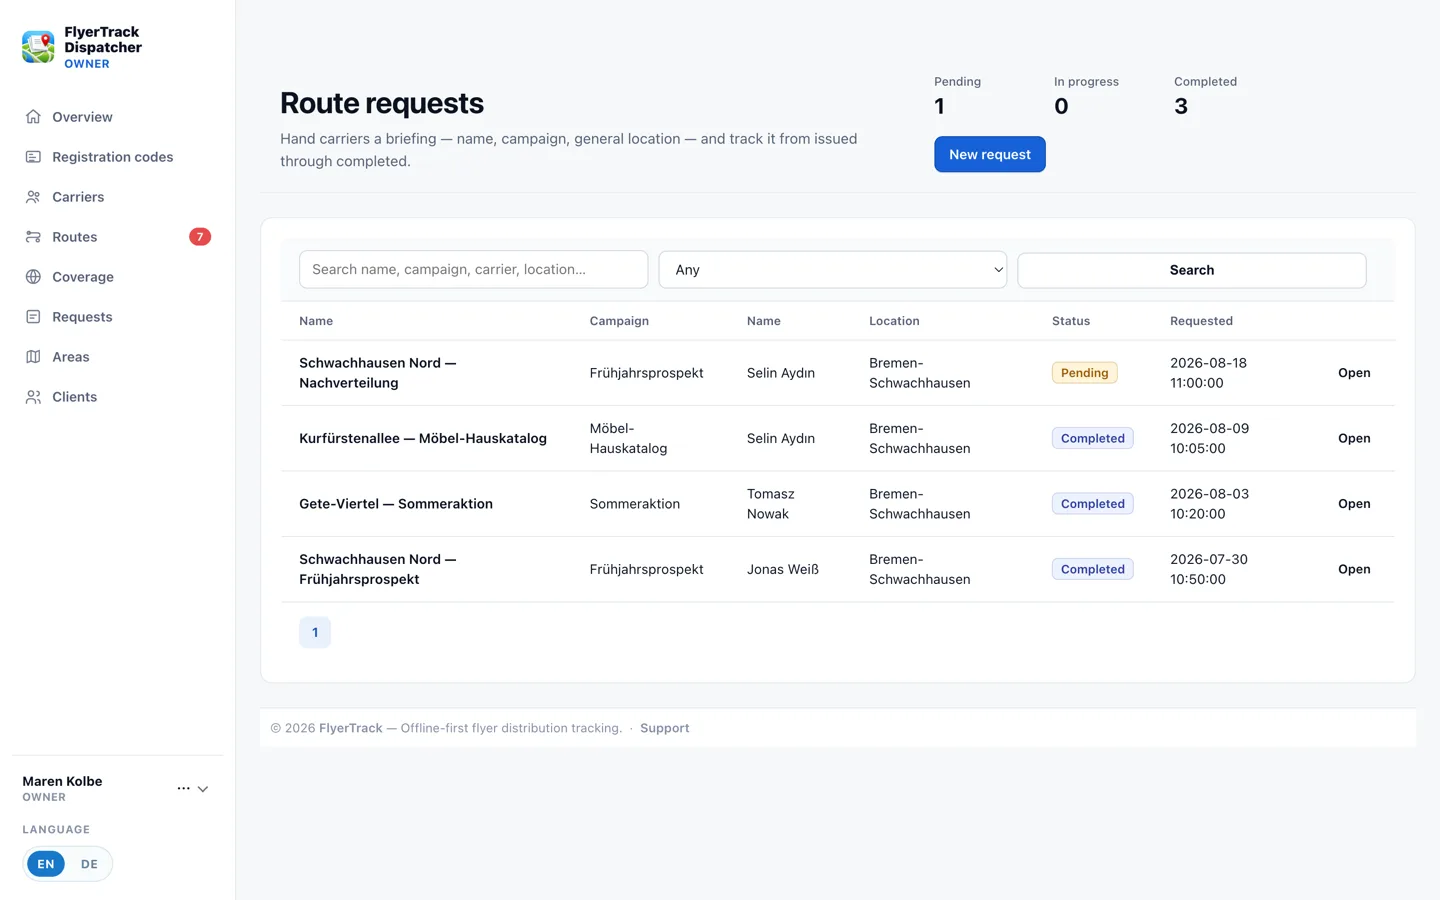
Jobs with their status: pending, in progress, completed. -
3
Follow the progress
The job view shows the commissioned area as a shape, and underneath it every walk recorded against it. Several walks on one job is normal as soon as a neighbourhood is too big for a single morning.
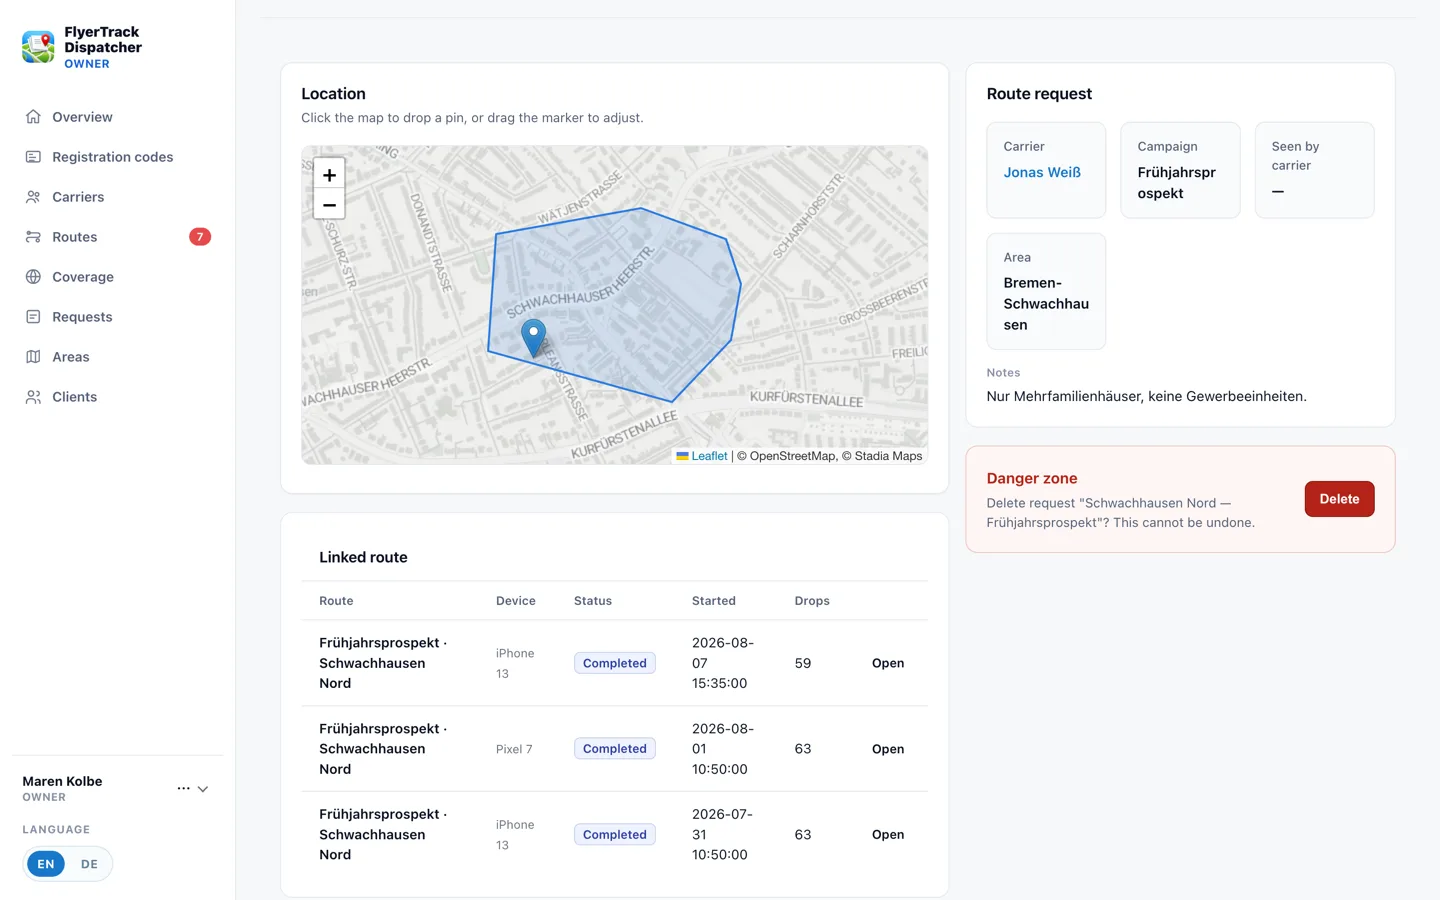
A job with its drawn area and the walks completed on it so far.
How big should an area be?
A good rule: as much as one person can finish in one outing, plus a little slack. Areas that are too large leave nobody sure what is still open. Areas that are too small create paperwork for its own sake.
When several people are working the same neighbourhood at once, the answer is not a different area size — it is shared coverage, which is the next guide.
Try it on your own area
The free tier is enough to run the whole workflow with a single phone. No card required.
Create a free account